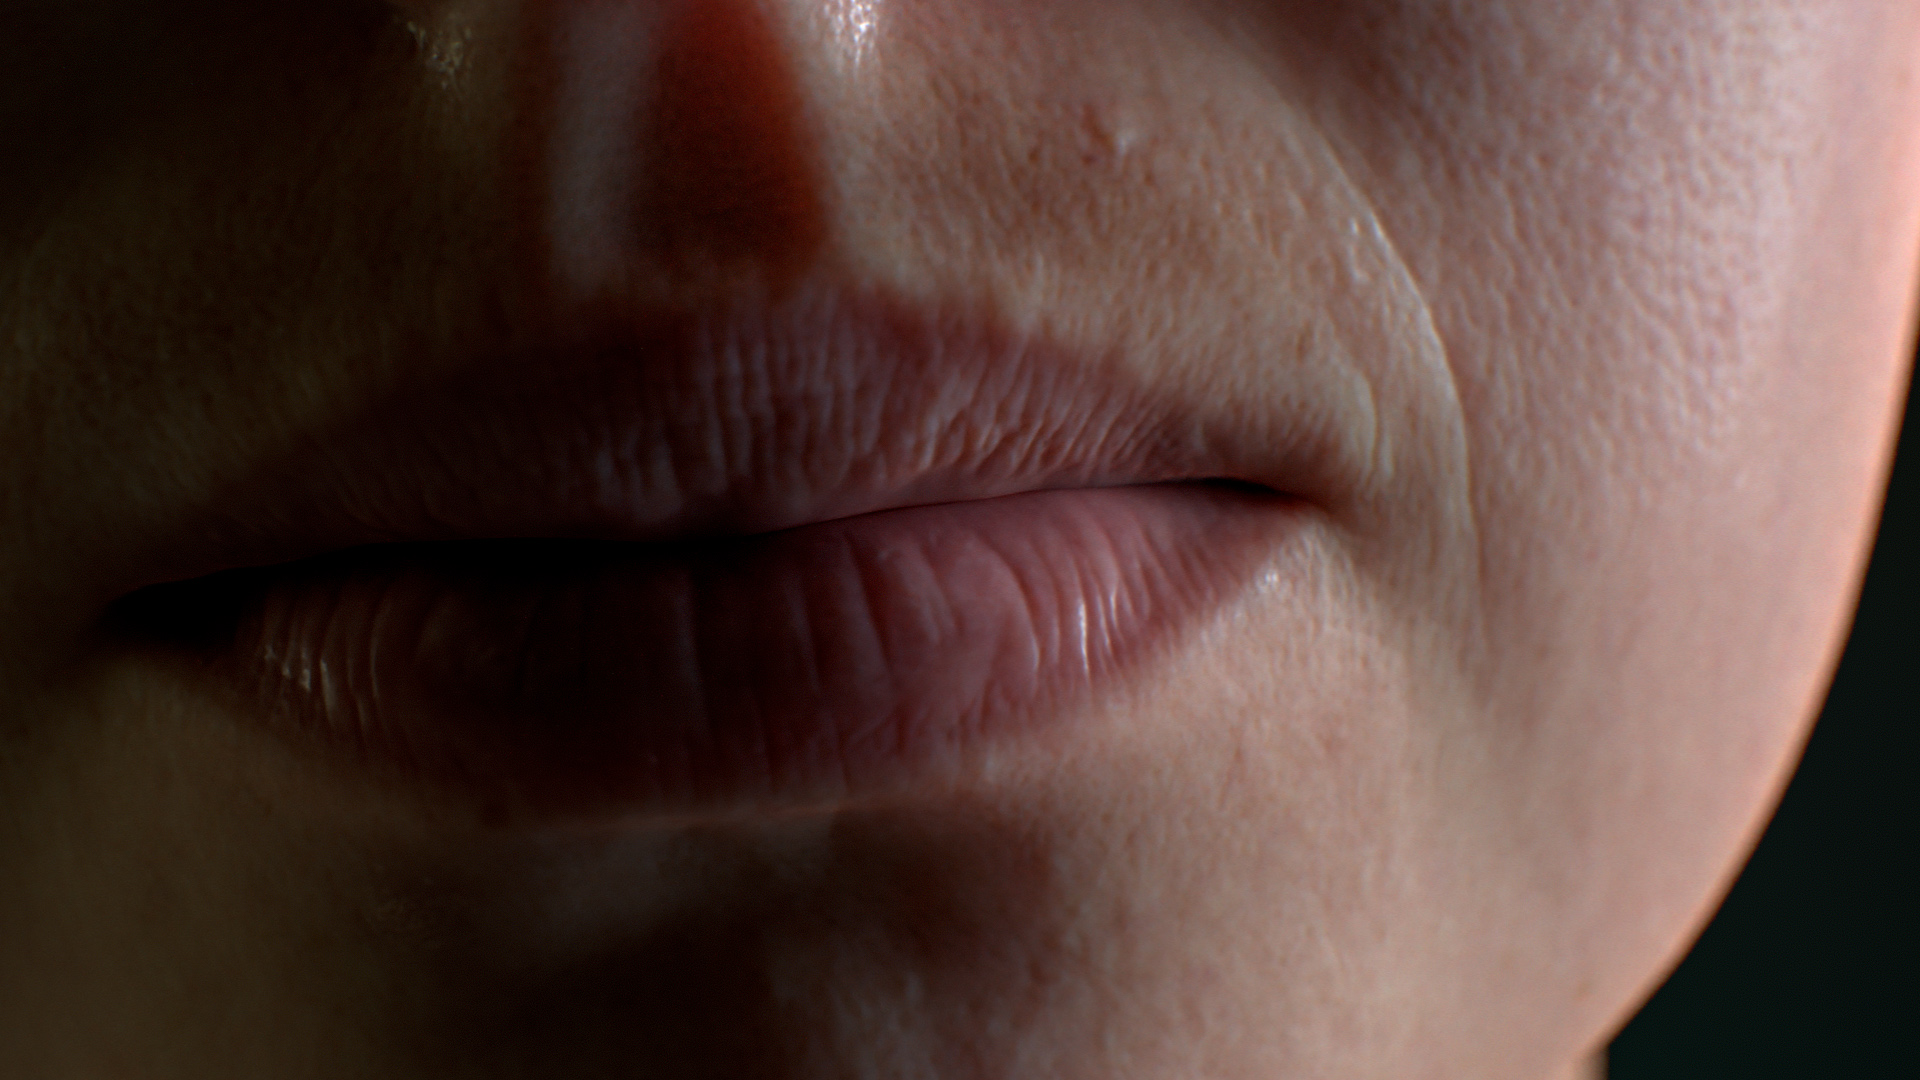
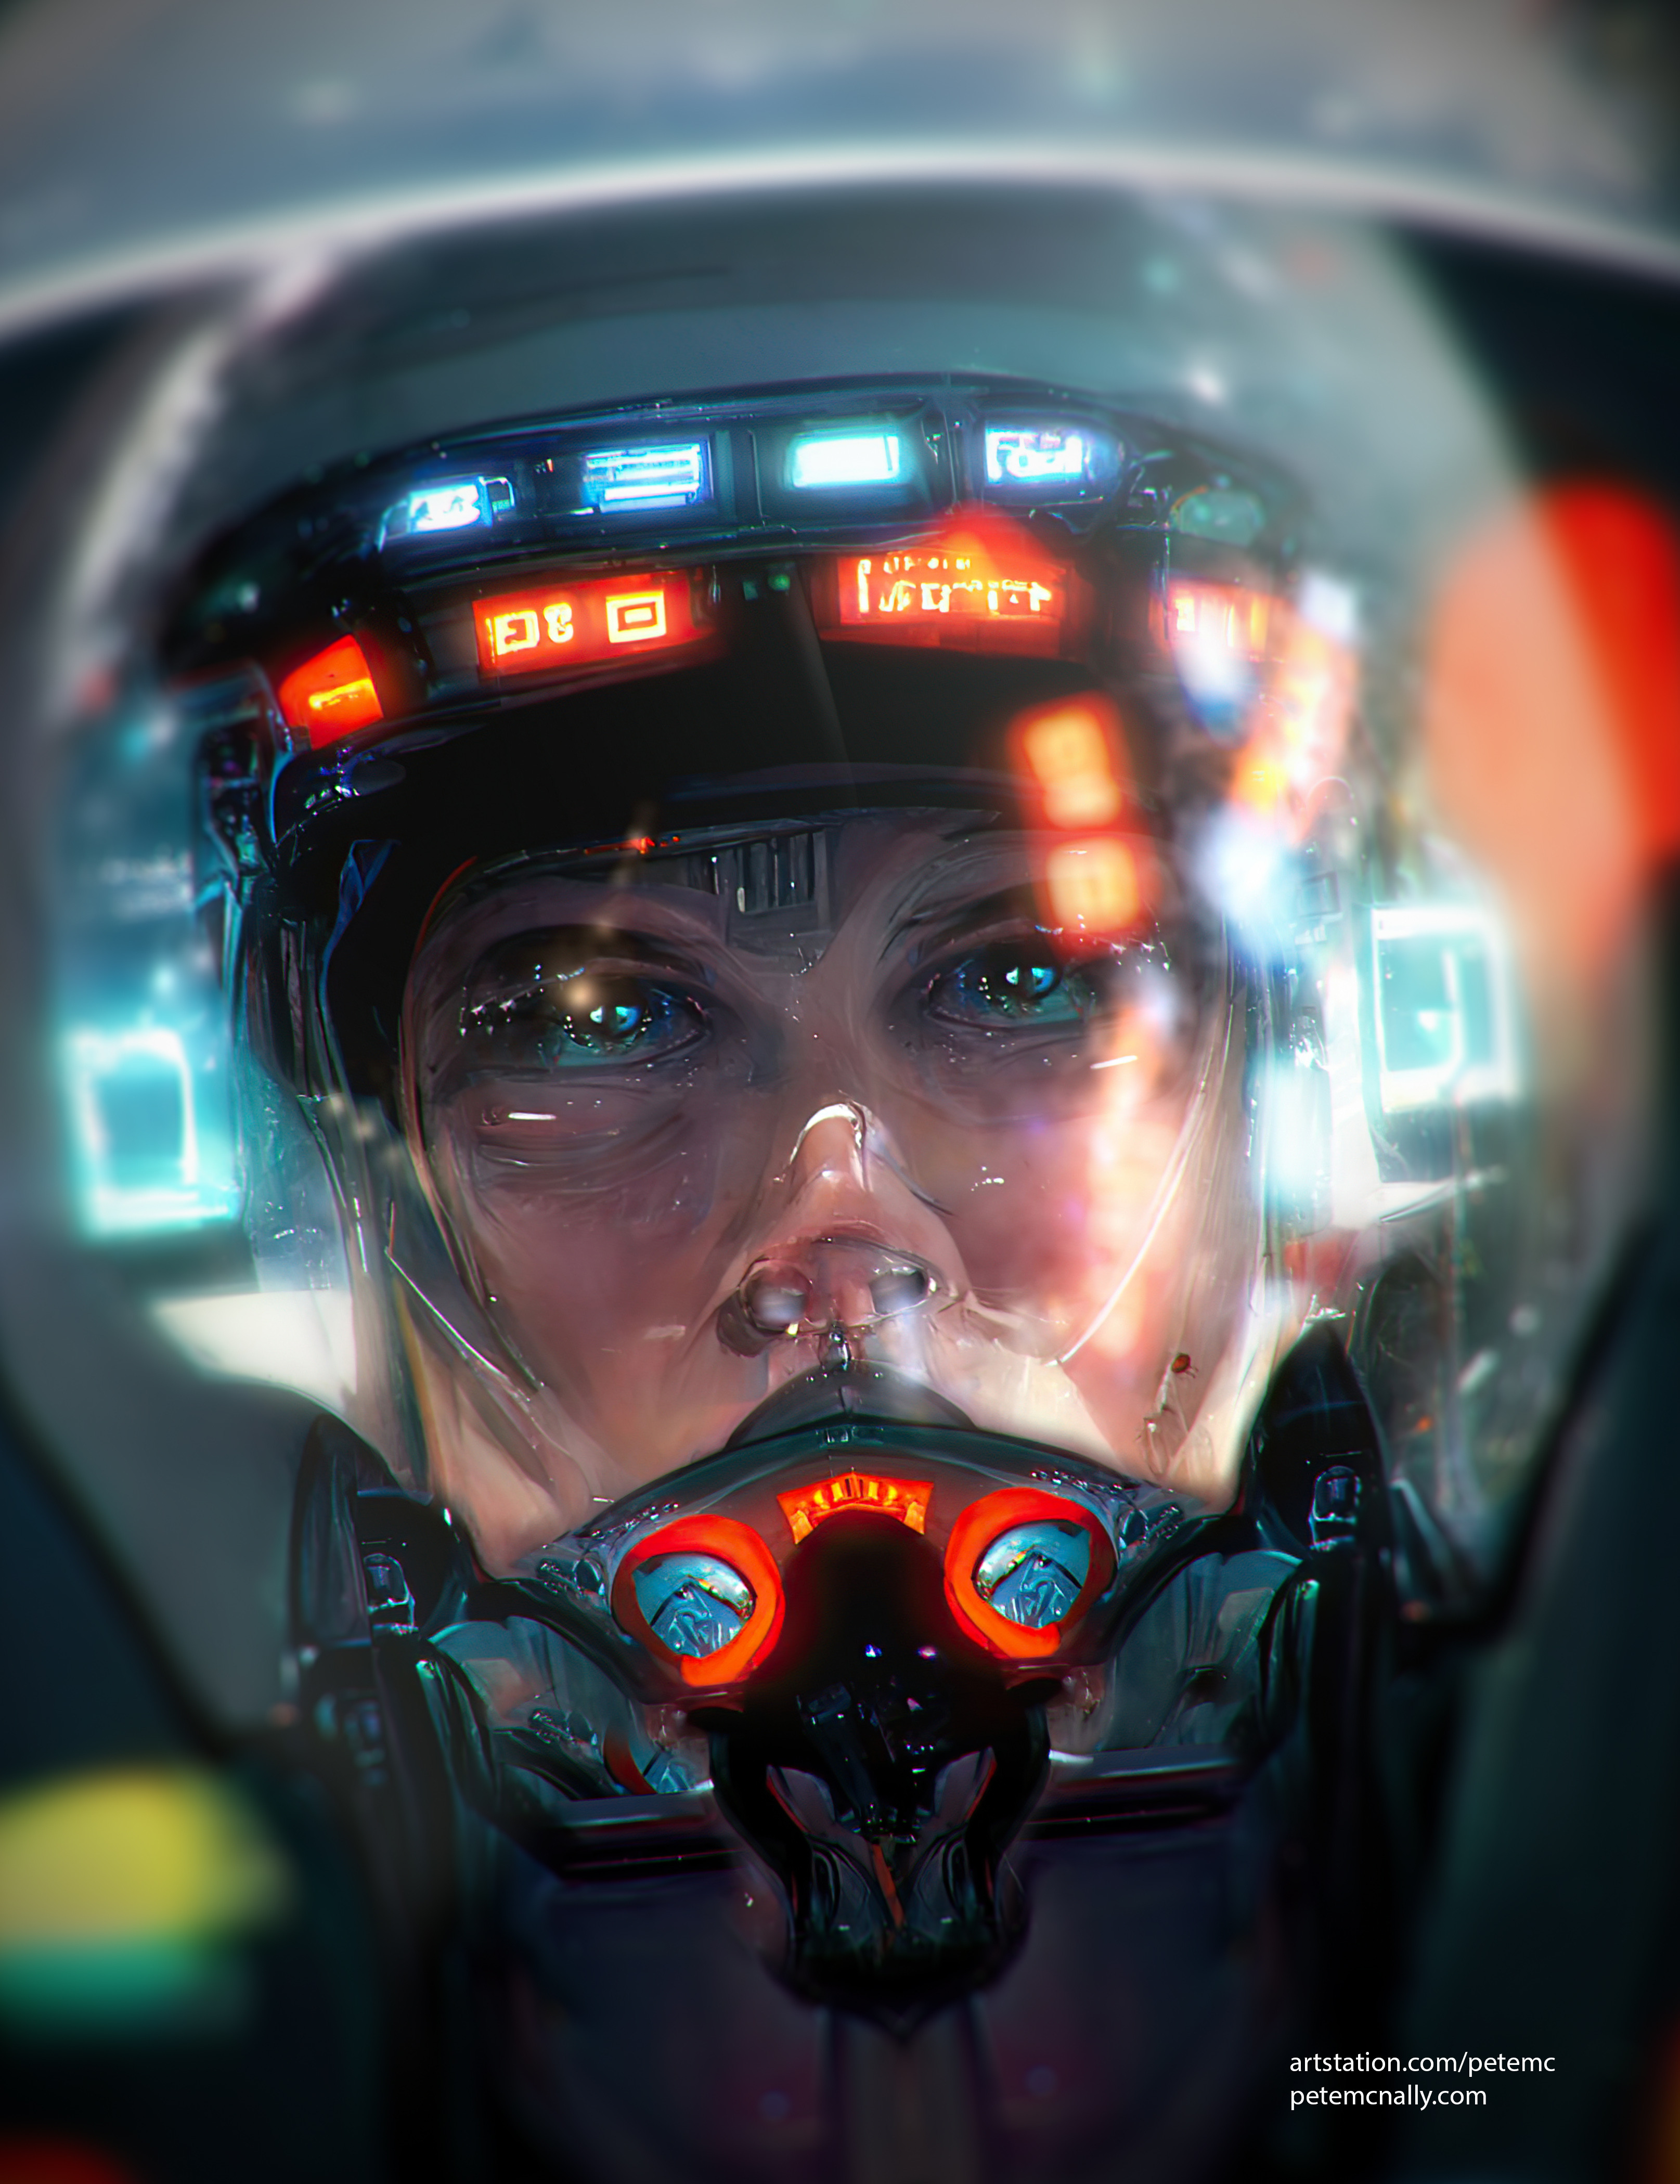
I was researching skin rendering last week and had a look at the very useful Digital Emily dataset https://vgl.ict.usc.edu/Data/DigitalEmily2/
All images rendered with #rtxon in Toolbag4, with some Generative Fill in Photoshop

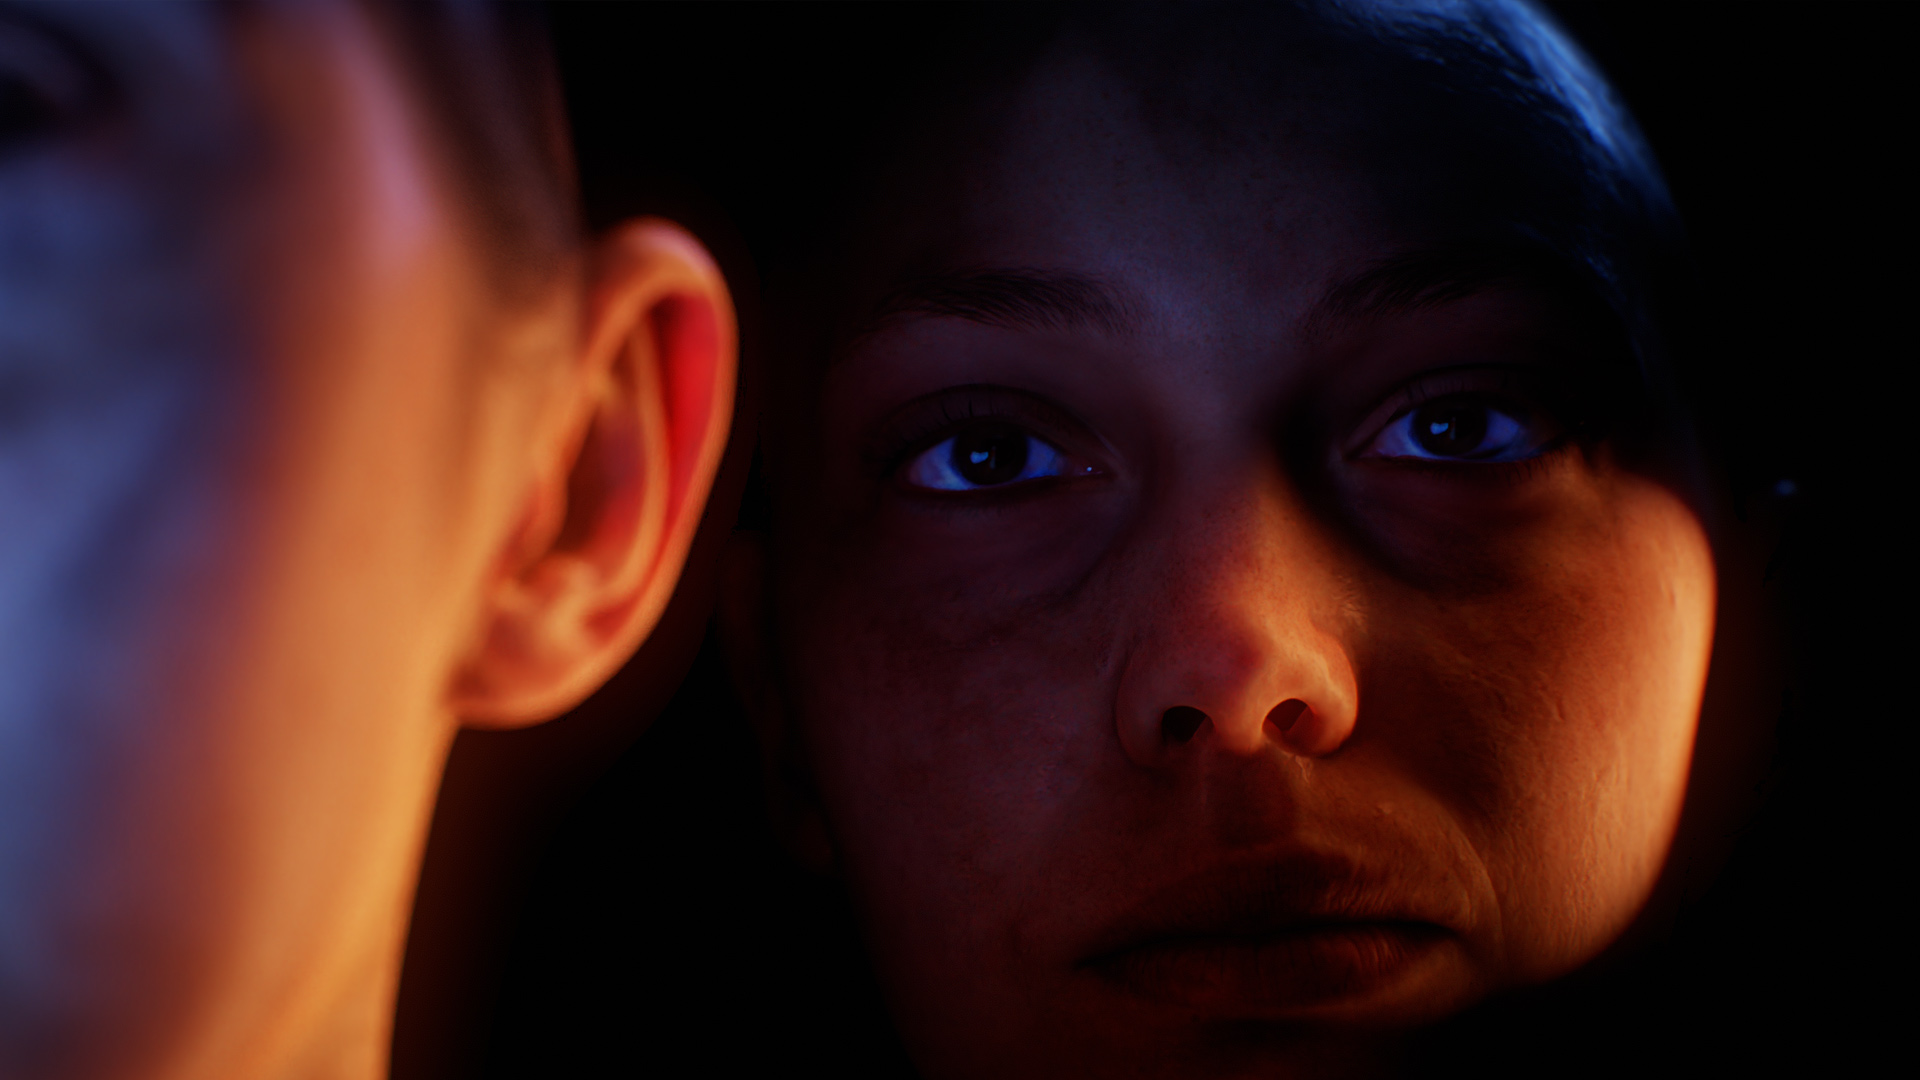
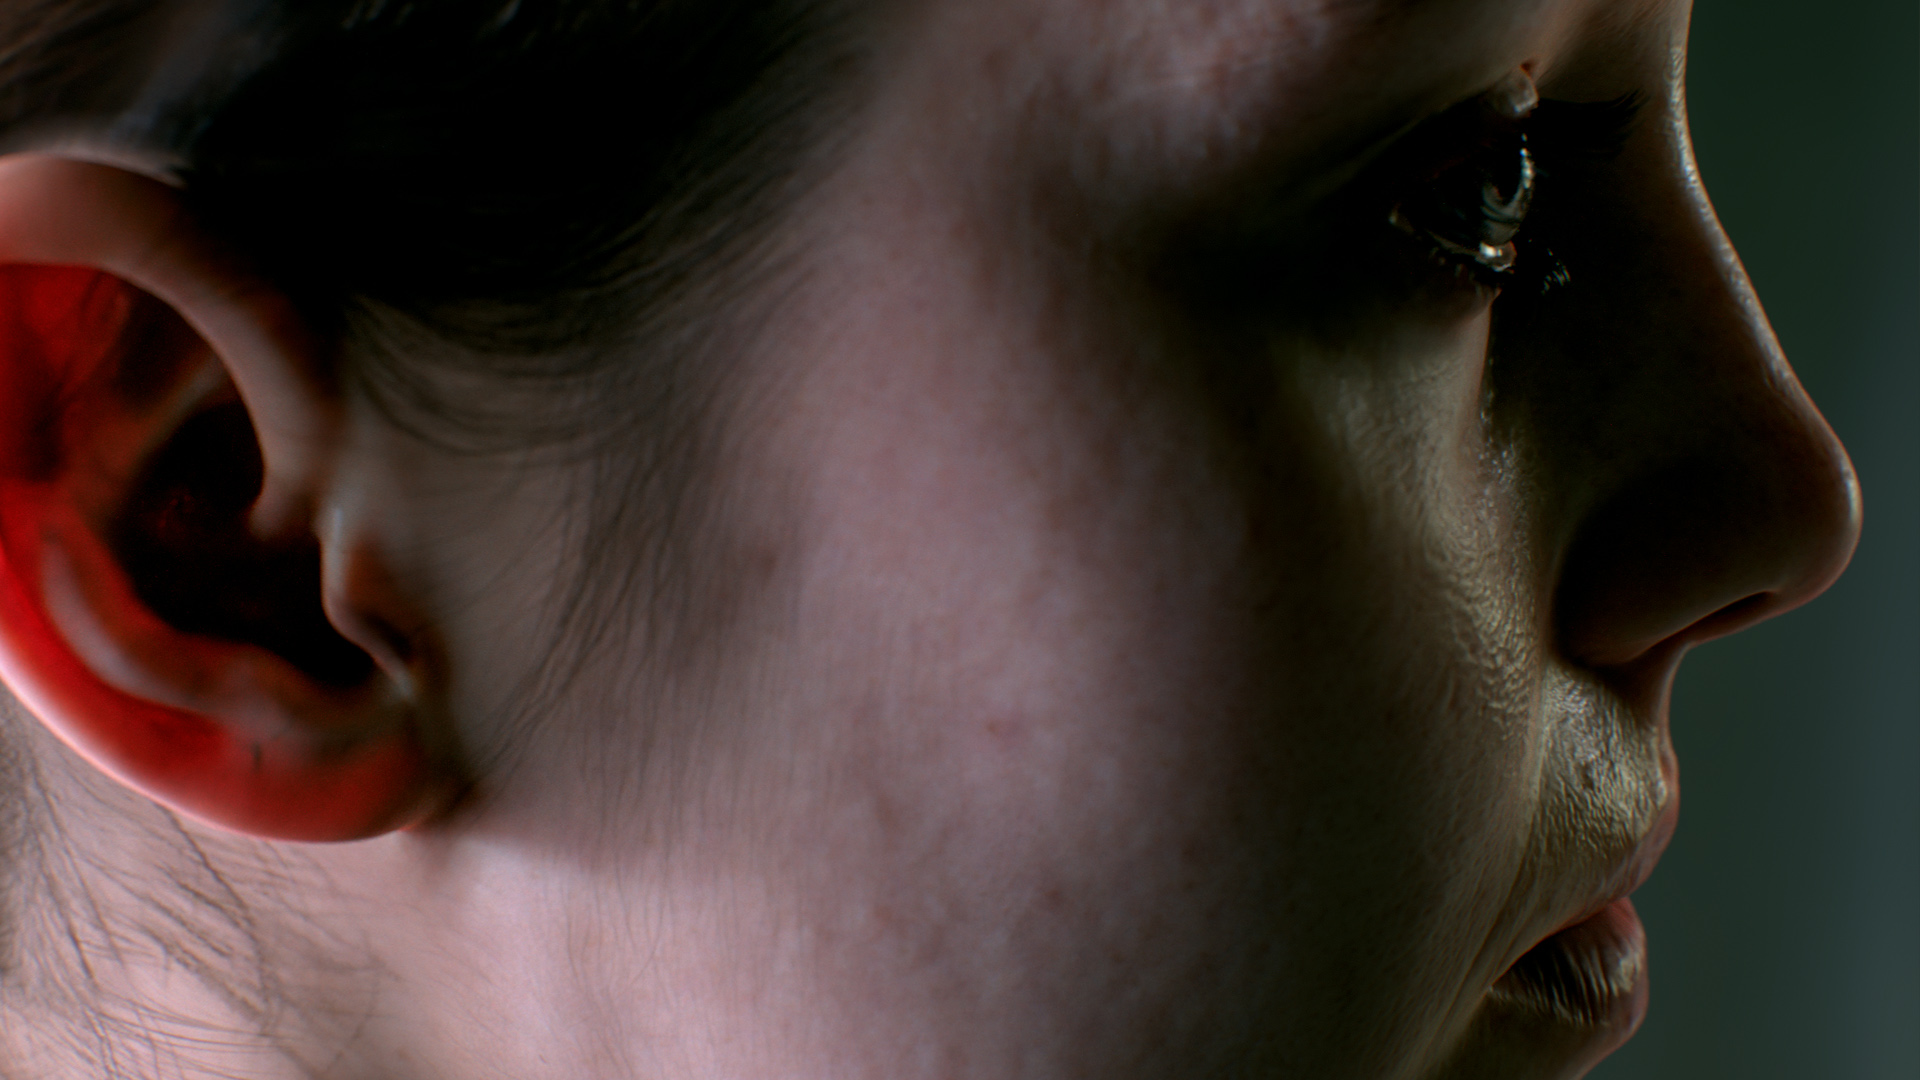

I was researching skin rendering last week and had a look at the very useful Digital Emily dataset https://vgl.ict.usc.edu/Data/DigitalEmily2/
All images rendered with #rtxon in Toolbag4, with some Generative Fill in Photoshop
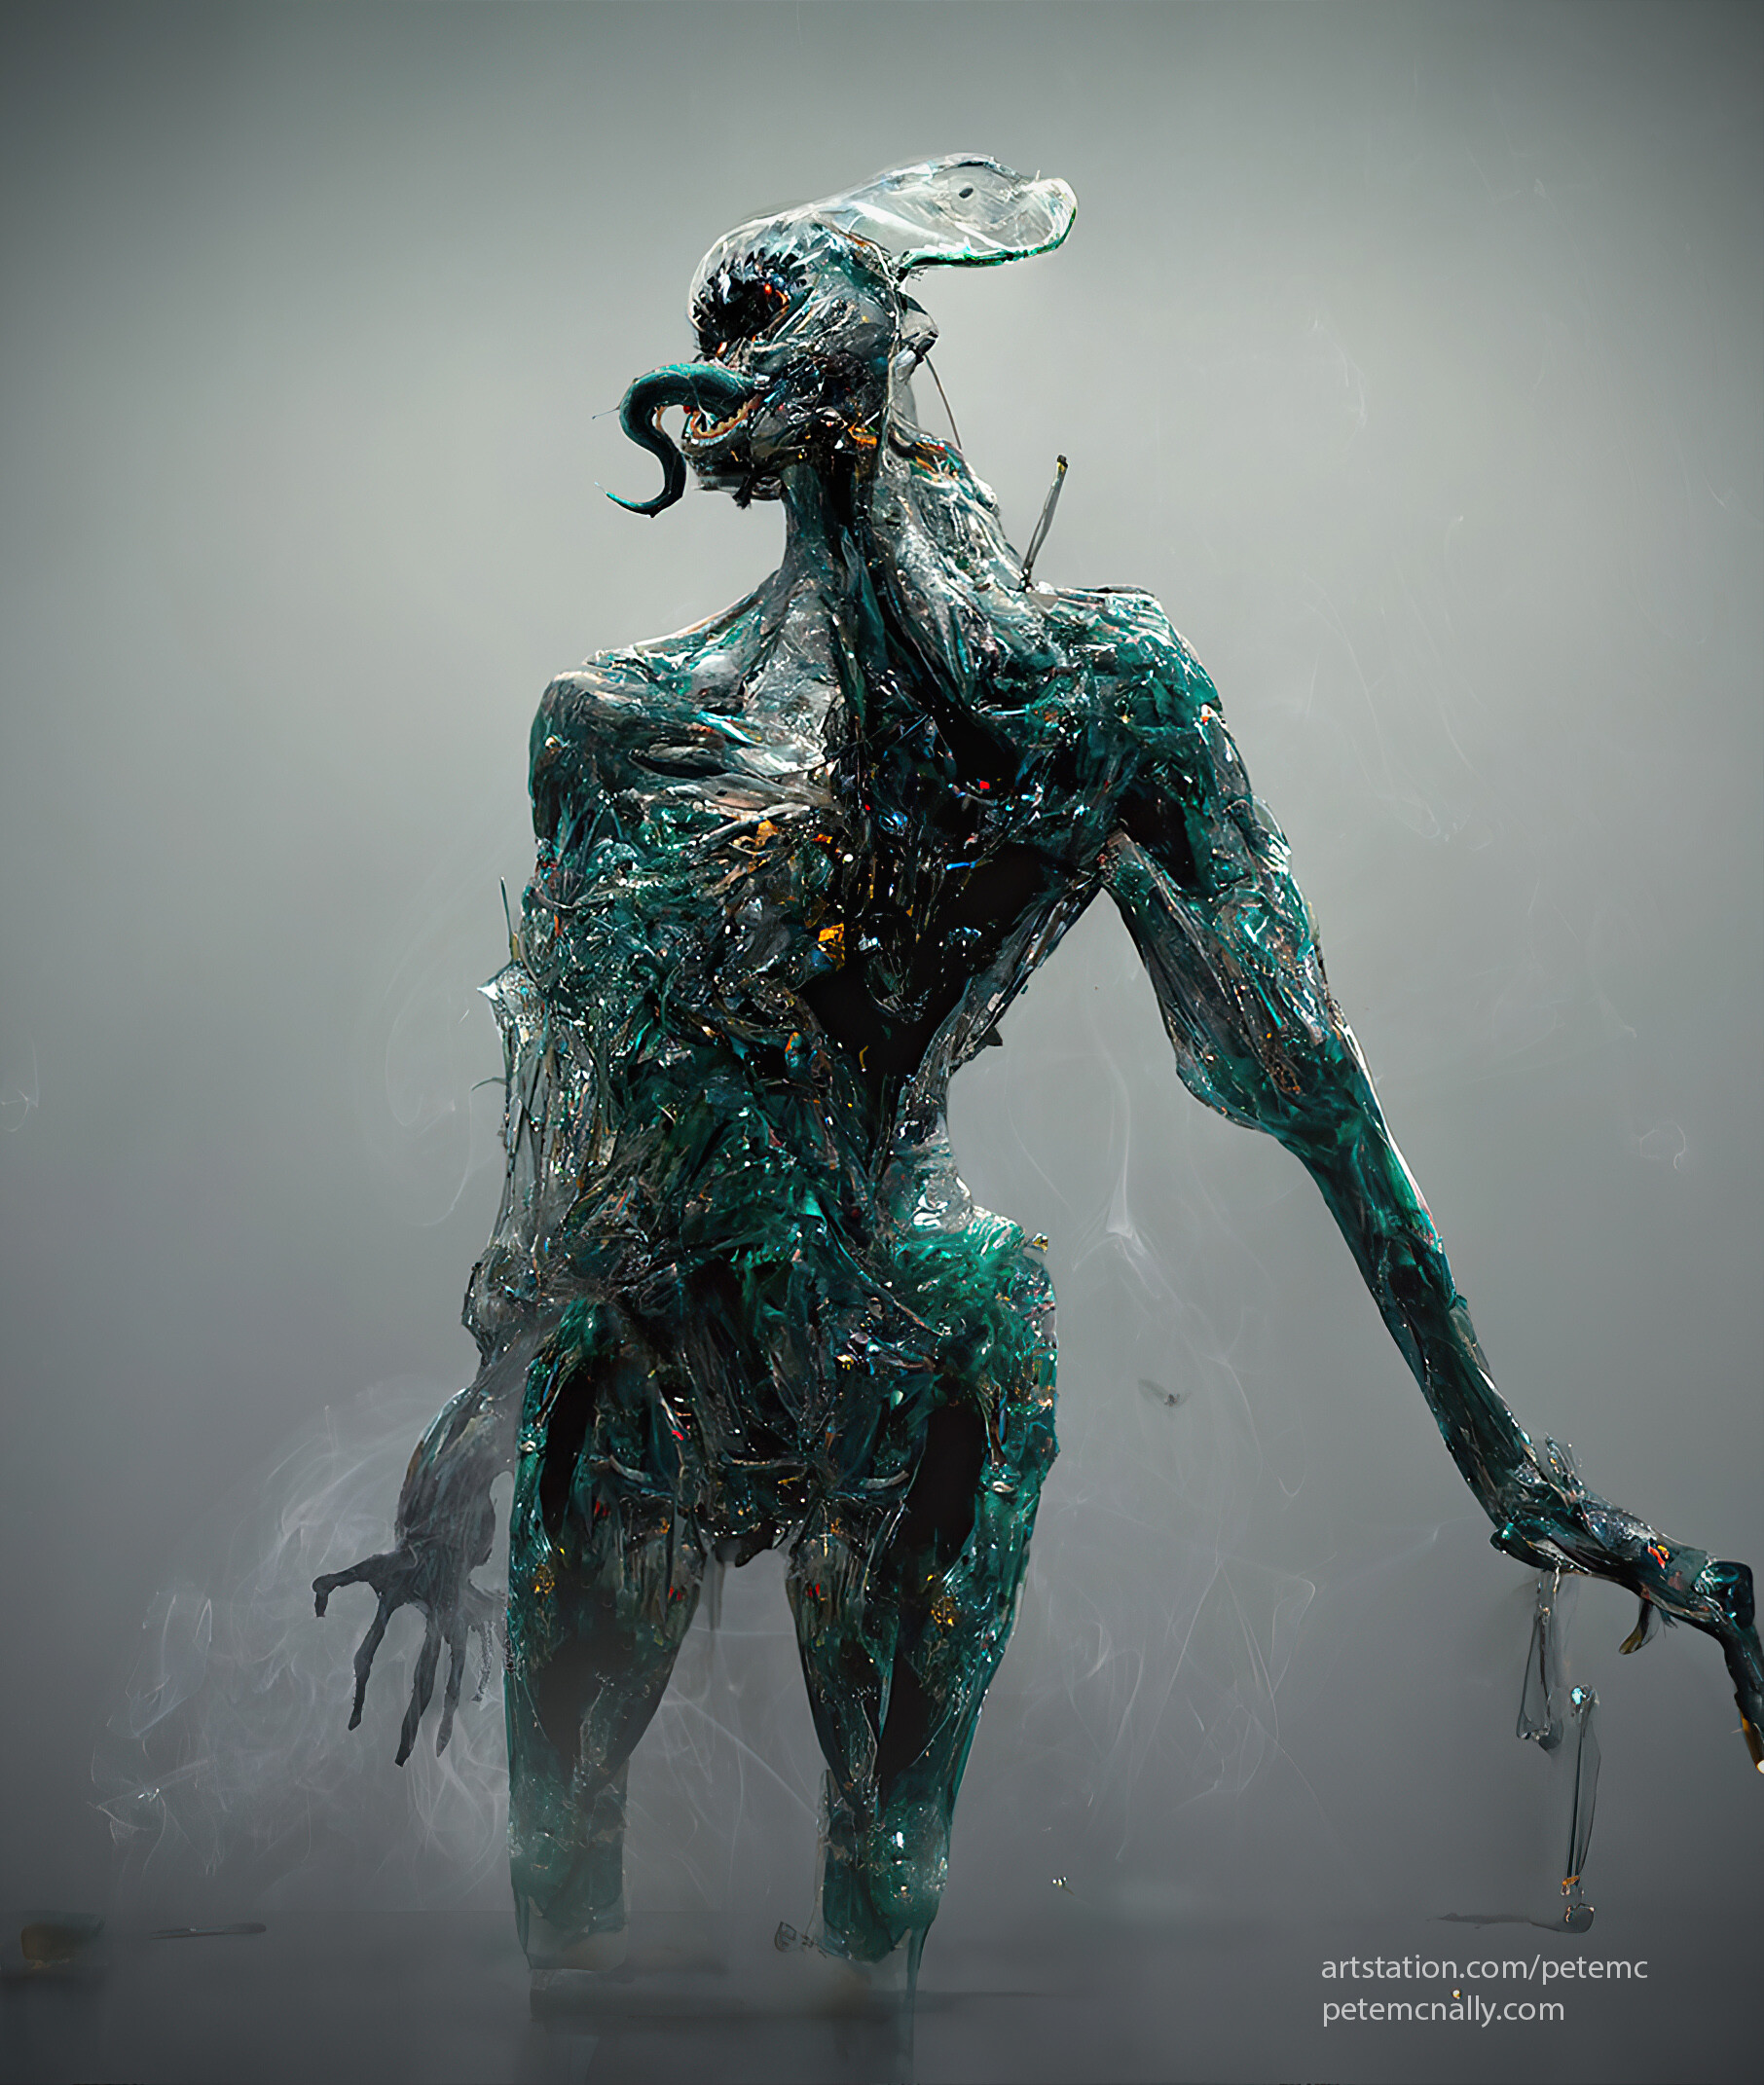
Here’s a couple more examples of using AI art generators such as Dall-E 2, Midjourney and Stable Diffusion to create concepts for 3D scenes.

Here are some experiments where I caollaborated with AI art generaotrs like Disco Duffison and Midjourney, with overpainting in Photoshop and some 3D work in Max.

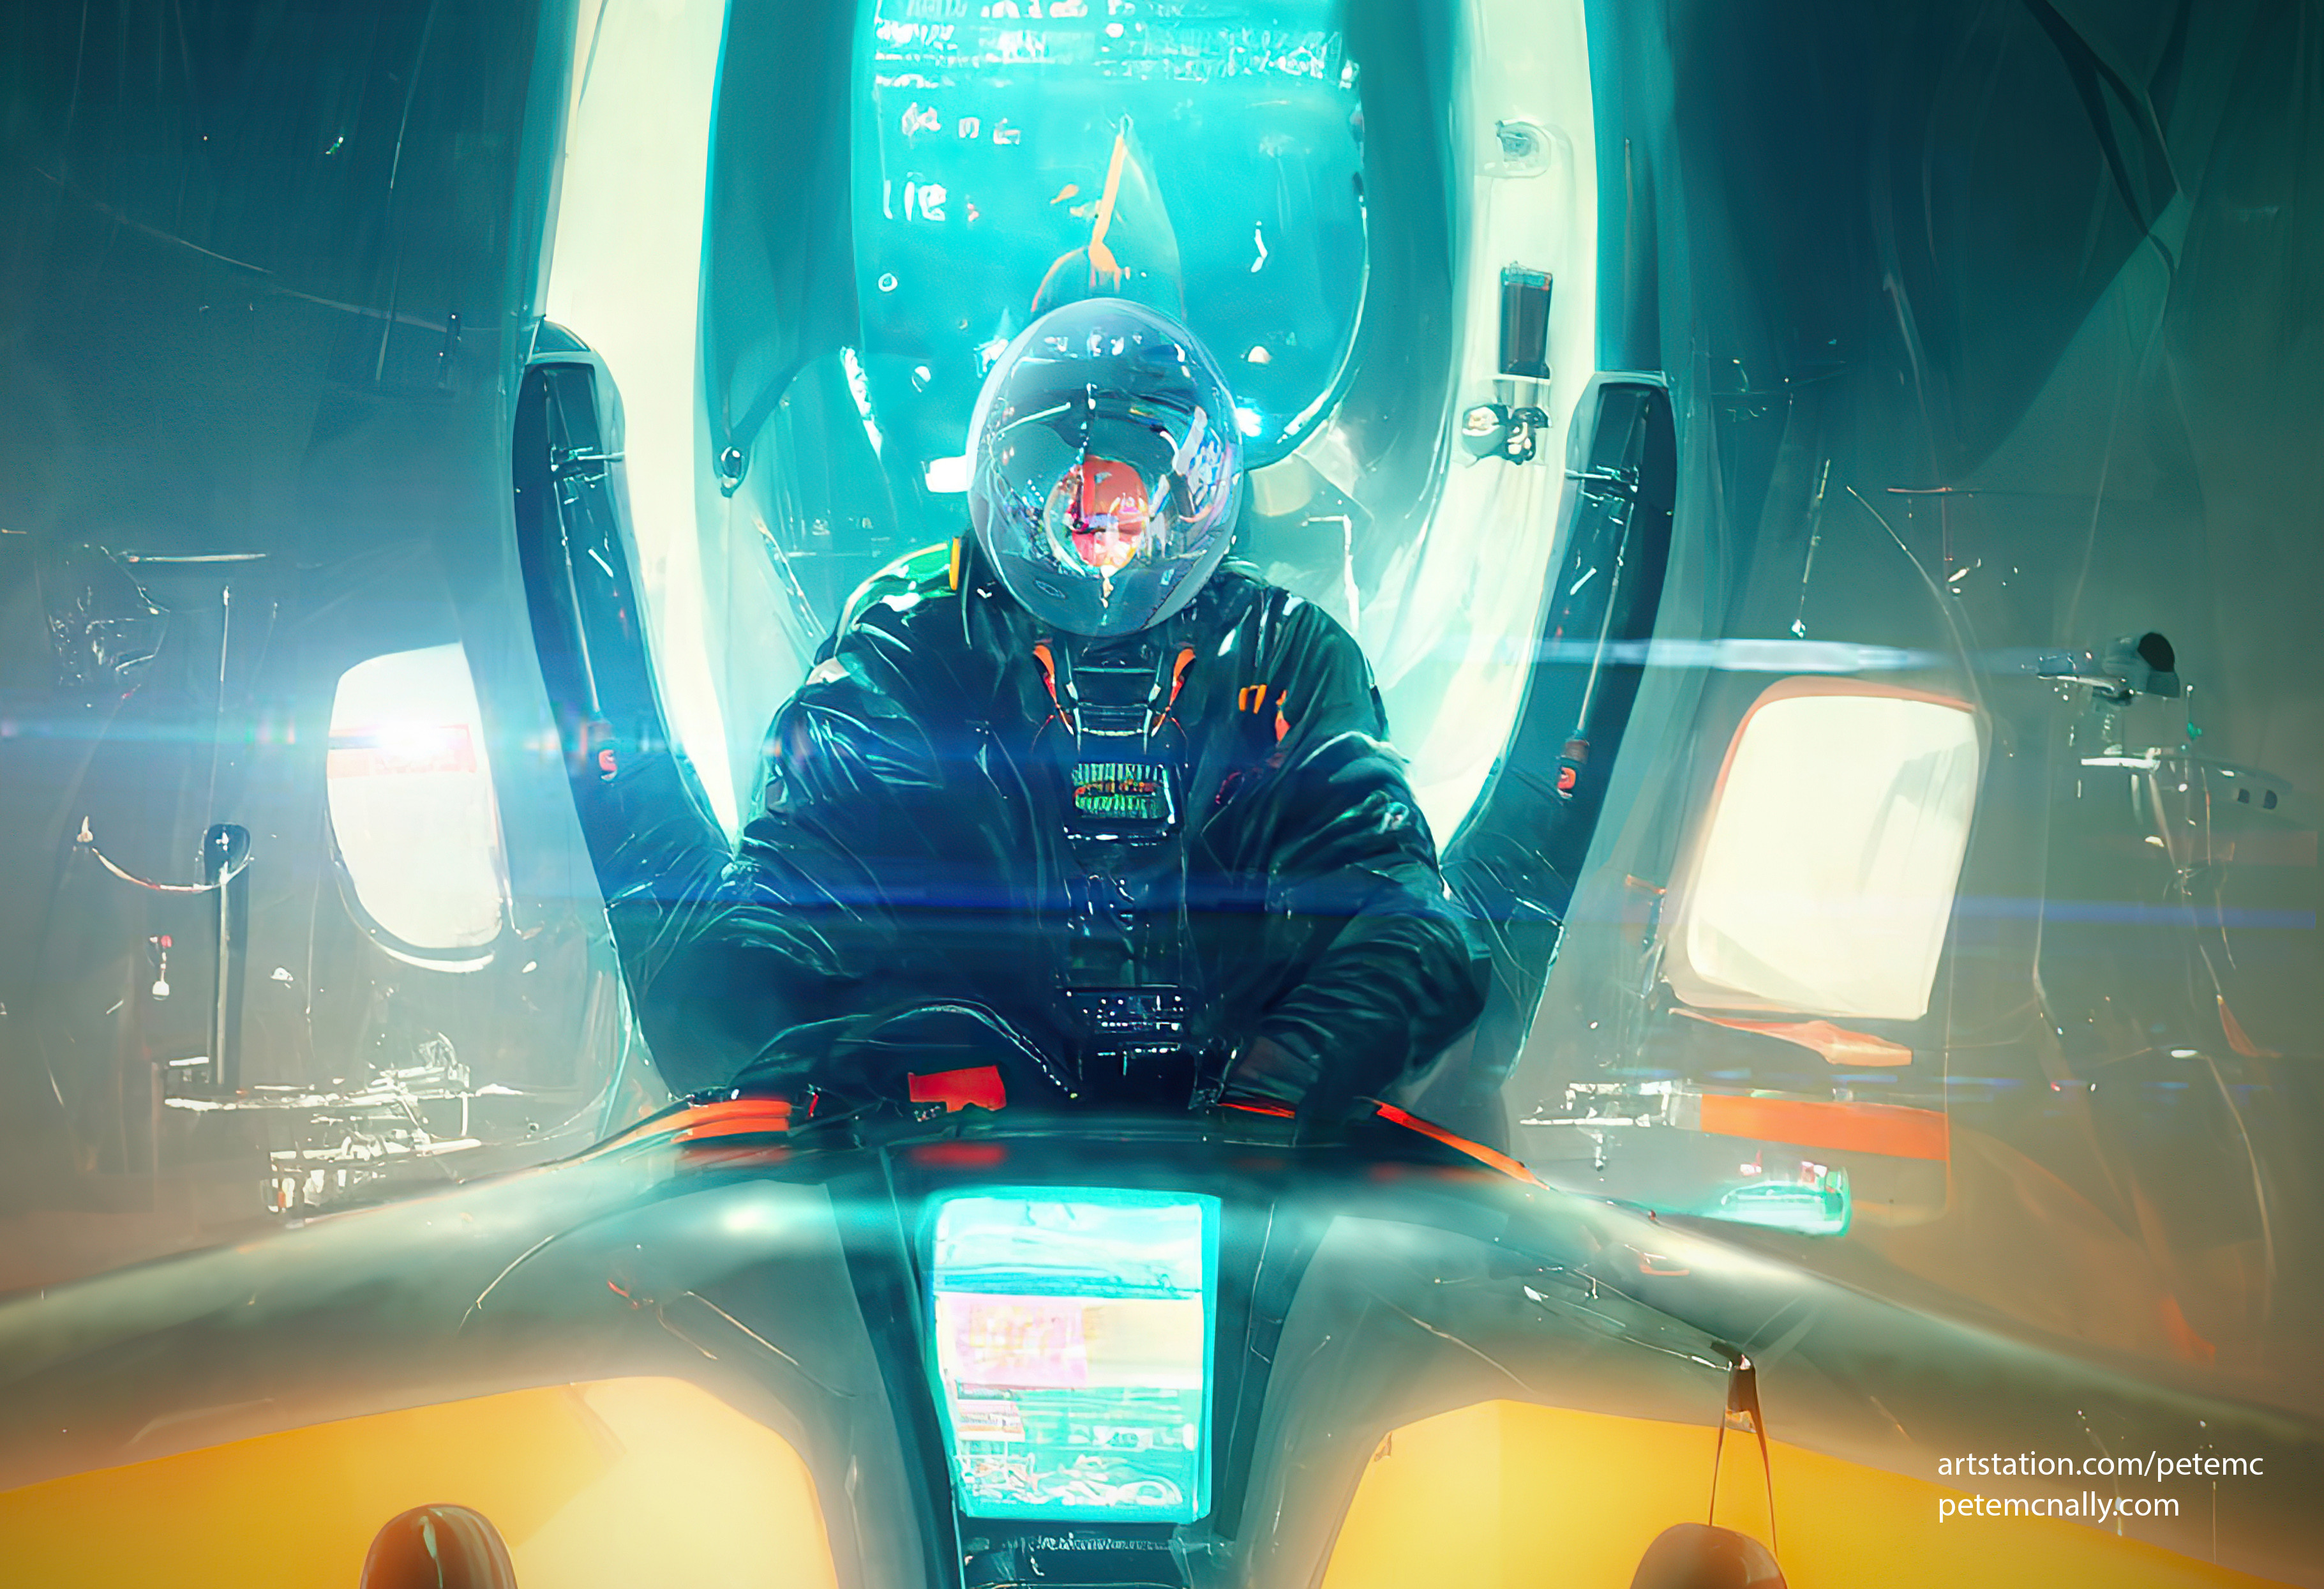

Tumbleweeds here! Anyway, I’ve been experimenting with Wombo Dream lately on my phone for some AI assisted art creation. In this collage, I used an unfinished mech image (left) as an input https://www.artstation.com/artwork/9EWZO, and then mutated it in Wombo with various styles and text phrases. I think it’s a really useful way of generating ideas quickly, even from abandoned or unfinished work, and I’m excited about learning ways to control and influence the outcome more directly. (I’ve signed up for the more impressive ones, like Midjourney and Dall-E and if anyone knows a way to get up the list, let me know!)


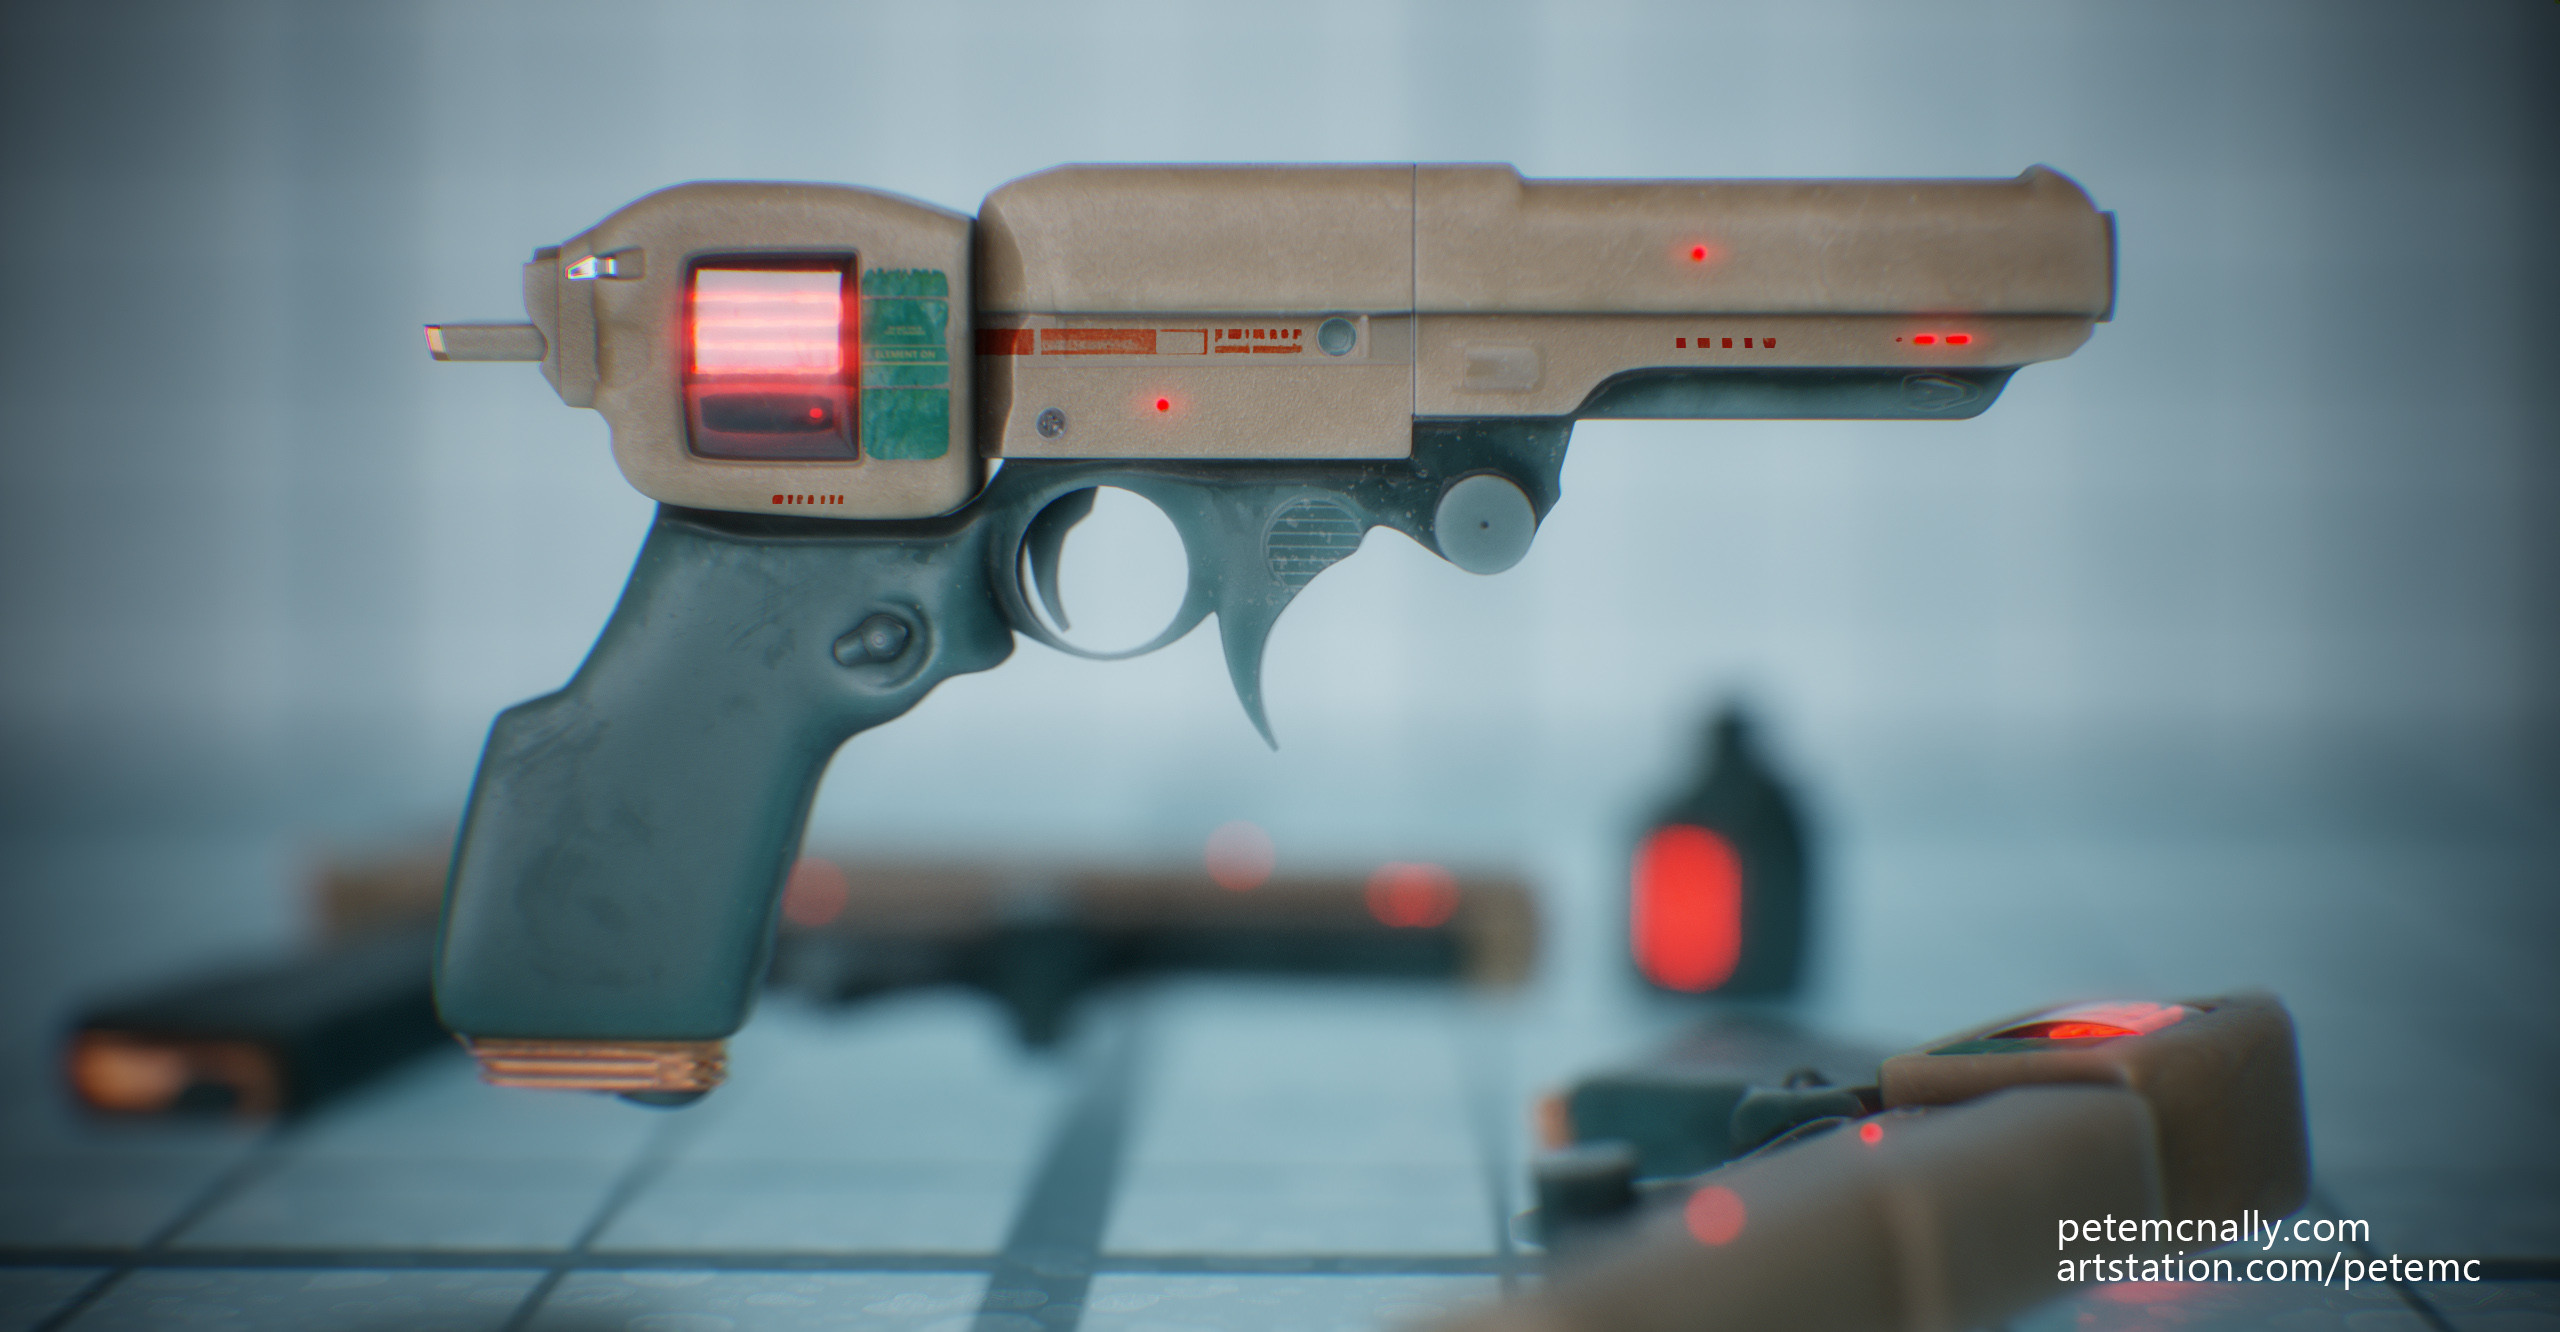
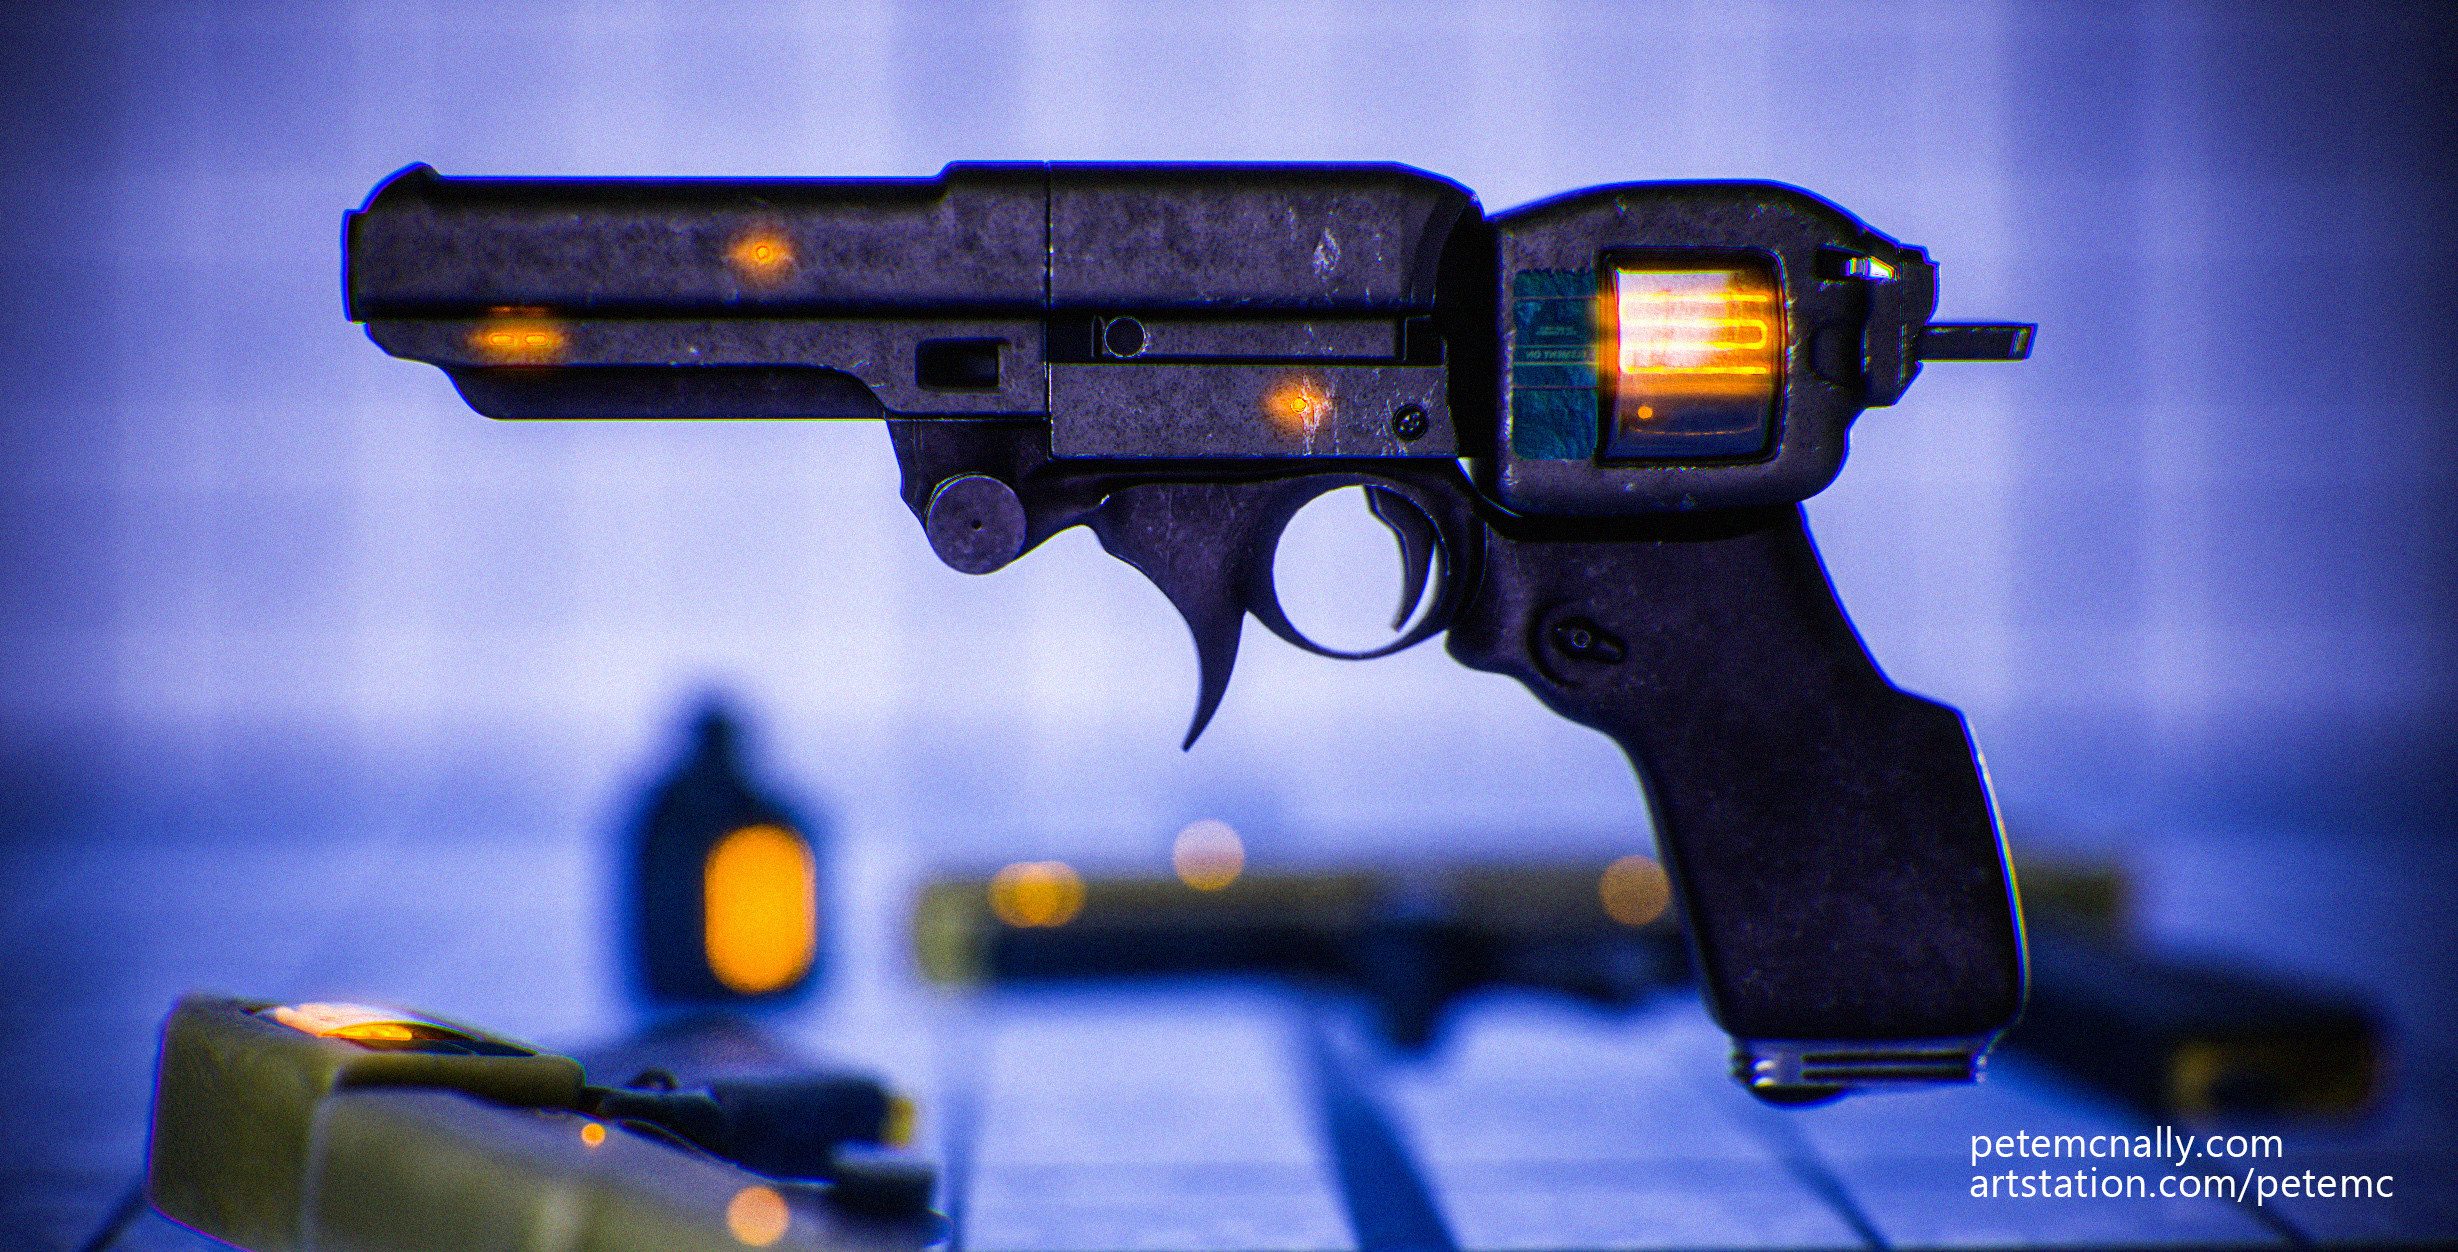
Wow, a year since the Covid-19 pandemic started! I haven’t posted here much since then, but I have been creating lots of stuff over at my Artstation page. Here’s what I’m up to right now, creating a still life scene in Toolbag 4. Since I last posted, I upgraded to a Nvidia card that supports realtime raytracing, and I’m enjoying working with it. It feels like the beginning of the end of all of the fakery and hacks we’ve been using for years, and the results are impressive. I took a pass at a tiling pineapple skin this lunchtime:


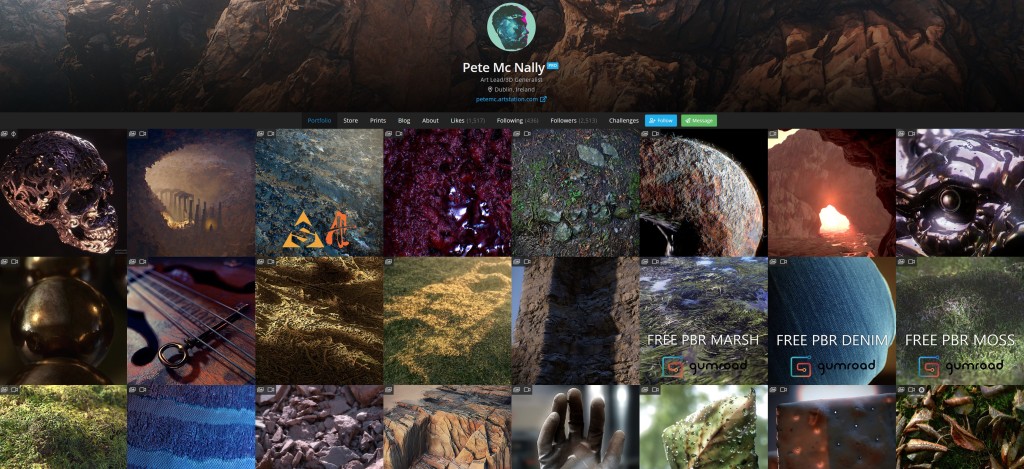
If it seems quiet around here, it’s worth checking out my gallery at Artstation. I post there more frequently, but more images than words.
https://www.artstation.com/PeteMc
Last night I demonstrated some of the real-time PBR material work I’ve done over the past few years at the 3D Camp/Irish VR meetup in Workday, Dublin. All of the clips were rendered in Toolbag 3.
Lots has happened this year, some good and some bad stuff and I’ve been neglecting this blog a bit. I post more on Artstation these days, but I like to keep the blog separate for deeper dives into my work. So, it’s the blog here for behind the scenes/breakdowns and the Artstation page for at-a-glance final images and portfolio.
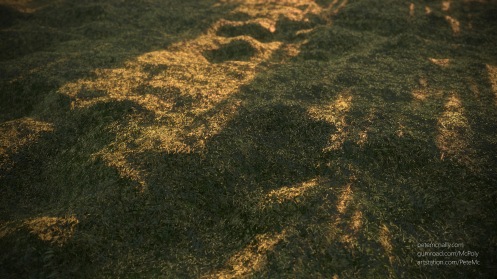
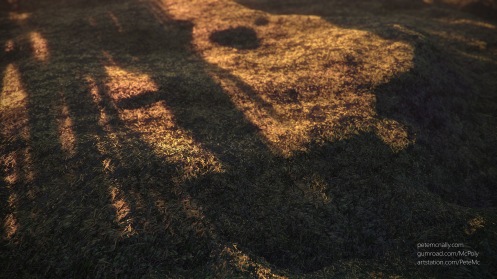
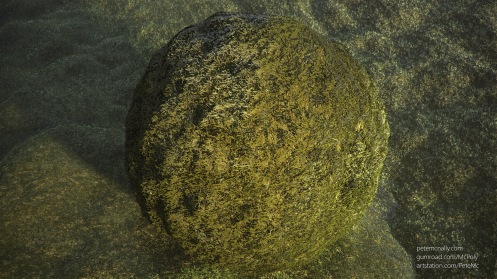
I tried some experiments over the Summer with procedural scattering in 3dsmax to create tiling textures, kind of like Substance Designer but in full 3D. This has pros and cons but I’m encouraged by these tests and will definitely use the technique again. The workflow is basically create a number of models, e.g. stones, pebbles or grass blades, scatter them across a noisy plane primitive using PFlow or Hair and Fur in 3DSMax, then run a maxscript to chop, repeat and tile them along the border creating a seamless high poly tile. From that, the usual textures can be rendered off, height, normals, AO etc and used to create materials. Here’s my attempt at some lawn grass using this technique, rendered in real-time:
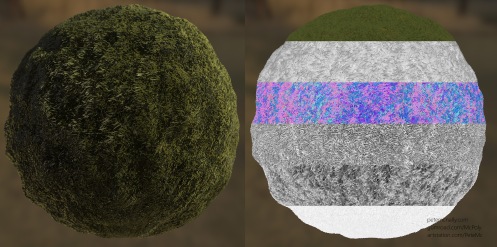
Everyone loves free stuff right? Well, I’ve put some of my recent texture work on Gumroad, where you can download it for FREE! It’s a 4K seamless moss material, approximately 30cm x 30cm, rendered below in Toolbag and Blender. Check it out at the link below
https://gumroad.com/products/nCdJR


I meant to close off last year with some posts over the Christmas break, but I went something of a PC detox, I didn’t make any new art and frankly, just enjoyed time away from the screen. So, Happy 2019 I guess, and here’s what I’ve been messing about with since the last post! I’ll go into more detail next time, this is more of a recap as I haven’t posted in a few months. I’ve been a bit lazy in only posting images to my Artstation page and not writing about the actual projects.
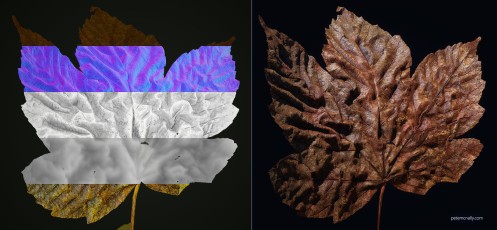
I did some further work on fallen Autumn leaves, using Artomatix for tiling but this time using a compact 20mp point and shoot camera instead of a 12mp phone camera to try and up the quality:


I also finally looked at Blender! I’ve been threatening to for a while but the gorgeous real-time Eevee renderer in Blender 2.8 really caught my attention, so I’ve started to feel my way around it, with some great help from Fin O’Riordan
I mainly brought over assets I’d already modelled and used Blender to construct materials, then light and render the results, here’s what that looked like:


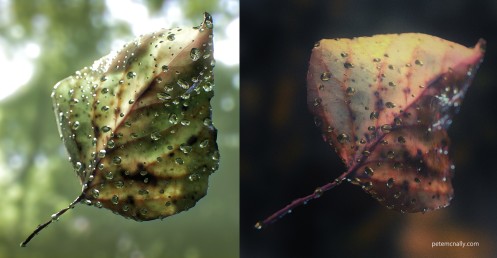
This also led to some further experimentation with texture capture from the real world, again using photographs, but not photogrammetry. I think it warrants it’s own post as refinement continues. Here are some early results of this work, with the bonus that I can now capture decent translucency from thin objects, like these leaves and crackers.
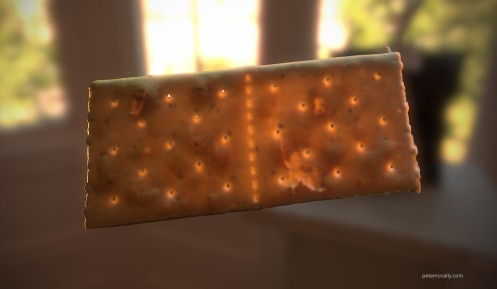
More to follow soon, thanks for reading.
